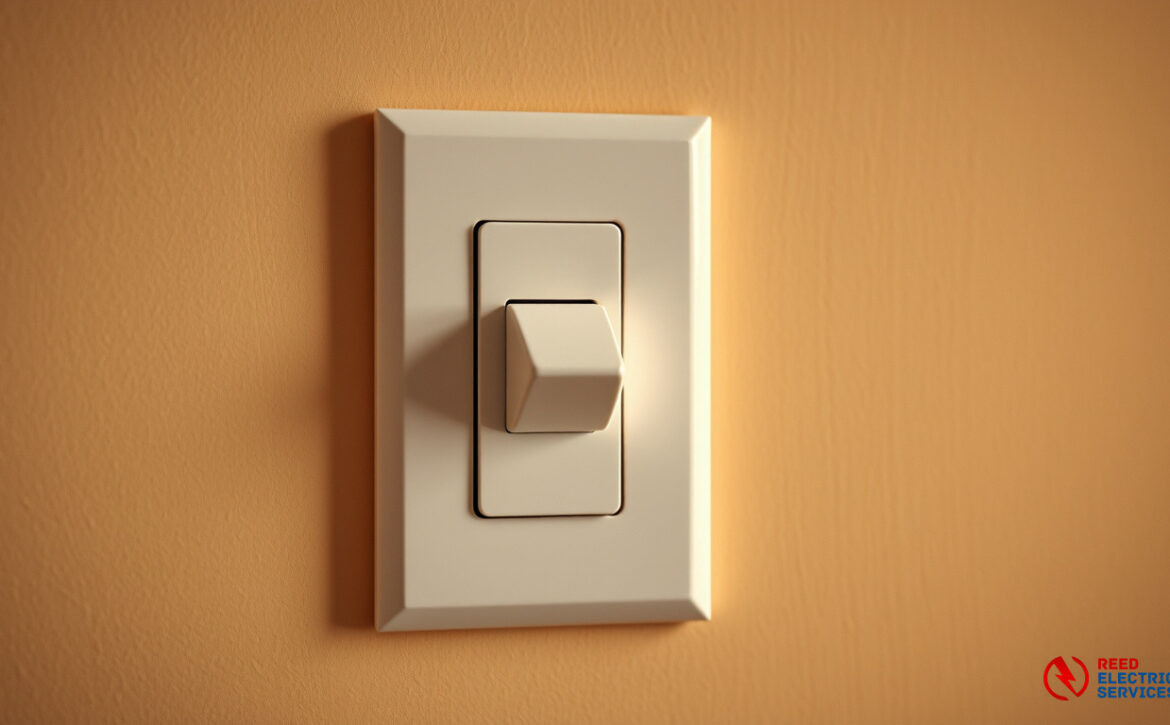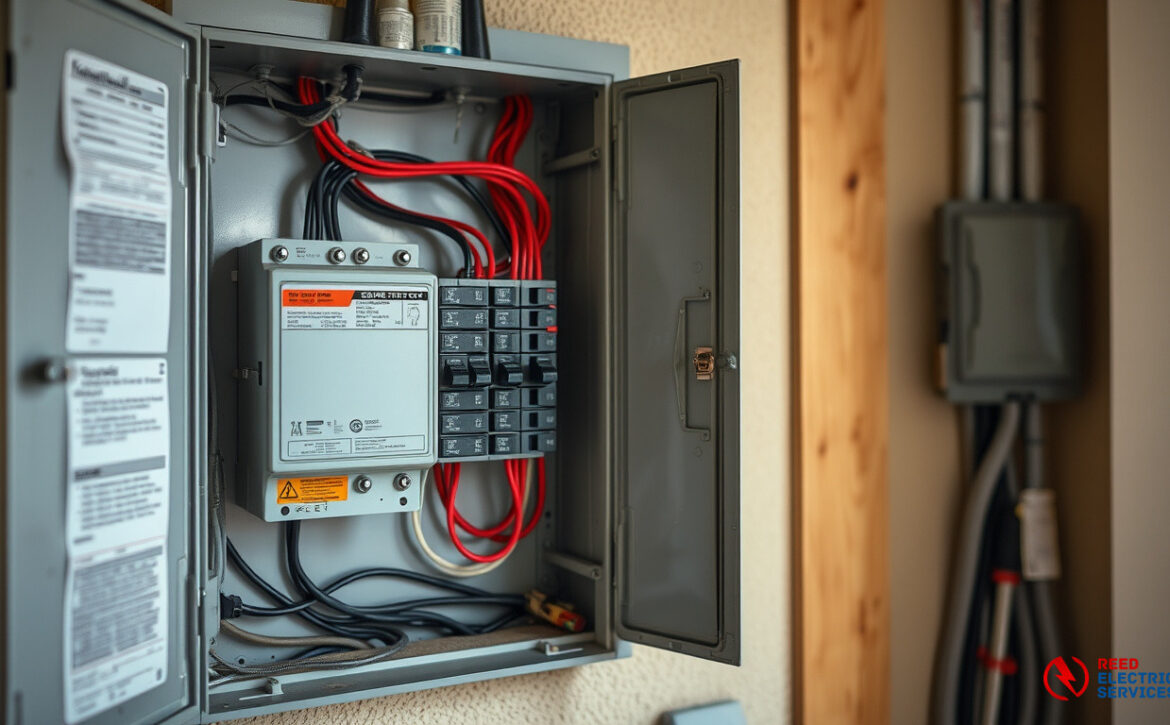
Why Does My Dimmer Switch Make My Lights Flicker or Buzz in Palos Hills?

The Short Answer: It Depends on the Wiring, Not Just the Outlet

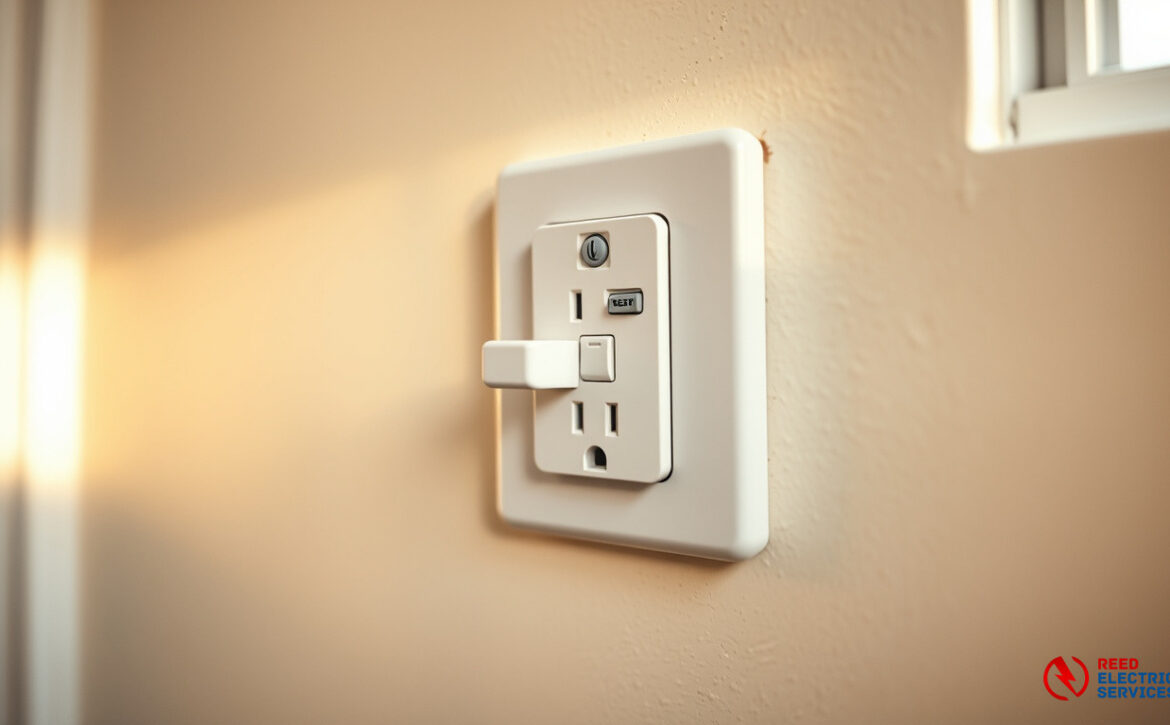
A dimmer switch only works correctly when it’s paired with a compatible light fixture and bulb. Standard dimmers were built for incandescent bulbs, and if you install one on a circuit with LED or CFL lights, you’ll often get flickering, buzzing, or lights that won’t dim below a certain point. The fix usually isn’t replacing the bulb — it’s matching the dimmer switch type to the lighting load on that circuit.

Why Your Dimmer Isn’t Doing What It Should

Why Your Dimmer Isn't Doing What It Should — Electrical Services, Palos Hills

The Short Answer: It Depends on the Wiring, Not Just the Outlet — Electrical Services, Palos Hills

Most homeowners notice the problem right away: the light flickers at low settings, hums at full brightness, or simply refuses to turn all the way off. All of these point to a mismatch between the dimmer and the bulb technology it’s controlling.

Incandescent Dimmers Don’t Play Well With LEDs

Old-style incandescent dimmers work by cutting voltage in a simple on/off pulse. LEDs don’t respond to that the same way. A leading-edge dimmer — the kind installed in most homes built before 2010 — can cause LED bulbs to flicker noticeably or buzz because the bulb’s internal driver can’t interpret those voltage fluctuations cleanly. Switching to a trailing-edge dimmer (also called an LED-compatible dimmer) solves this in most cases. These are designed specifically for the low-wattage, electronic loads that LEDs present.

Minimum Load Requirements

This catches a lot of people off guard. Dimmers have a minimum wattage requirement — often 25W to 40W — because they need a certain load to function properly. A single 8W LED bulb doesn’t come close to that threshold. When the load is too low, the dimmer can’t regulate correctly, and you end up with a light that flickers or stays on at a low glow even when “off.” If you’re running just one or two LED bulbs on a dimmer circuit, you may need either a different dimmer or a load-corrector device added to the circuit.

Neutral Wire Availability Matters More Than You Think

Many newer smart dimmers and LED-compatible dimmers require a neutral wire at the switch box. Older homes in the southwest Chicago suburbs — and across the region — were often wired without a neutral at the switch location. If your electrician opens the box and finds only a hot and a switched hot, a standard smart dimmer won’t install without additional wiring work. This is one of the most common surprises during a dimmer upgrade, and it’s worth knowing before you buy the hardware.

What to Check Before Calling an Electrician

There are a few things you can verify on your own before scheduling a service call.

Check the Bulb’s “Dimmable” Label

Not all LED bulbs are dimmable. The packaging will say so explicitly. A non-dimmable LED bulb on any dimmer circuit will flicker, buzz, or fail early. Swapping to a dimmable LED is the first and cheapest fix to try. The U.S. Department of Energy’s LED lighting guidance is a solid resource for understanding how LED drivers interact with dimming technology.

Check the Dimmer’s Wattage Rating

Dimmers are rated by total wattage, not just voltage. If you’ve changed a fixture from four 60W incandescents to four 10W LEDs, you’ve dropped the load dramatically. Your existing dimmer may have been sized for 600W and now it’s running 40W. That mismatch alone can cause erratic behavior. Look at the dimmer’s rated load range on the back of the device or its packaging, and compare it against your actual bulb wattage.

When the Problem Isn’t the Dimmer at All

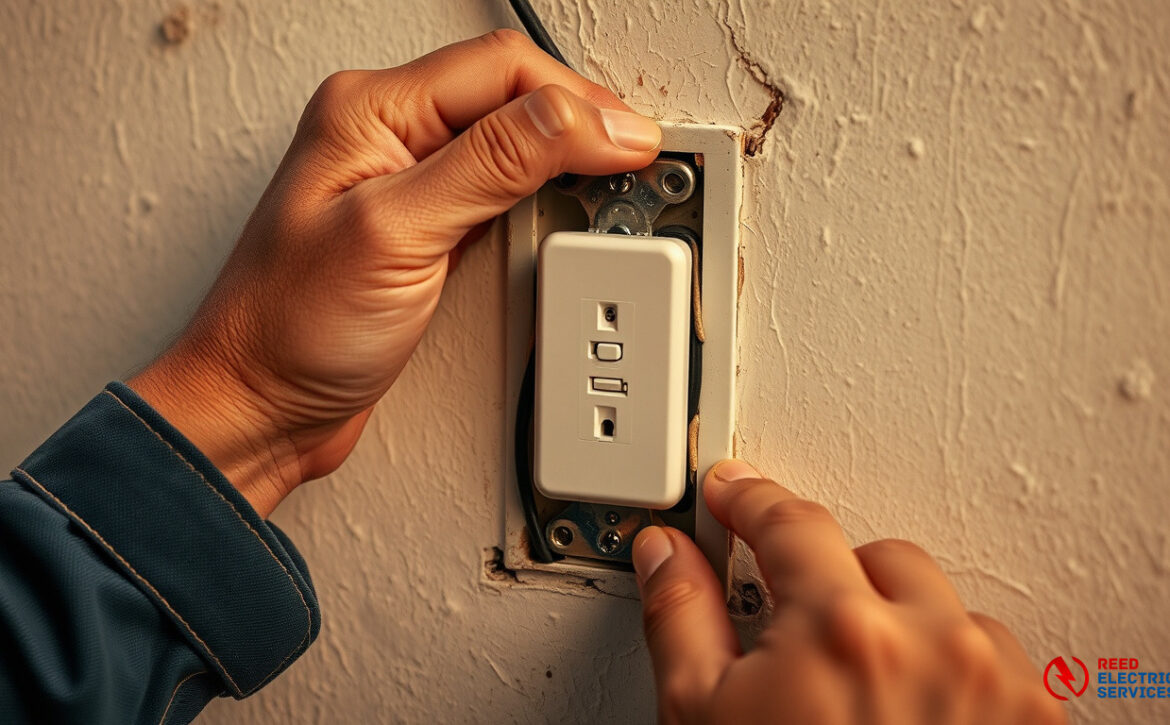
Occasionally, flickering on a dimmer circuit is a wiring issue — a loose connection at the switch, a failing wire nut, or a problem further back in the circuit. If you’ve already swapped bulbs and confirmed the dimmer is LED-compatible but the problem persists, that’s when an electrician needs to take a look. Loose connections generate heat and can become a fire risk over time. It’s not worth guessing on that one. Learn more about switch and outlet installation services if you’re thinking about upgrading more than just a dimmer.

When a Simple Swap Turns Into a Bigger Project

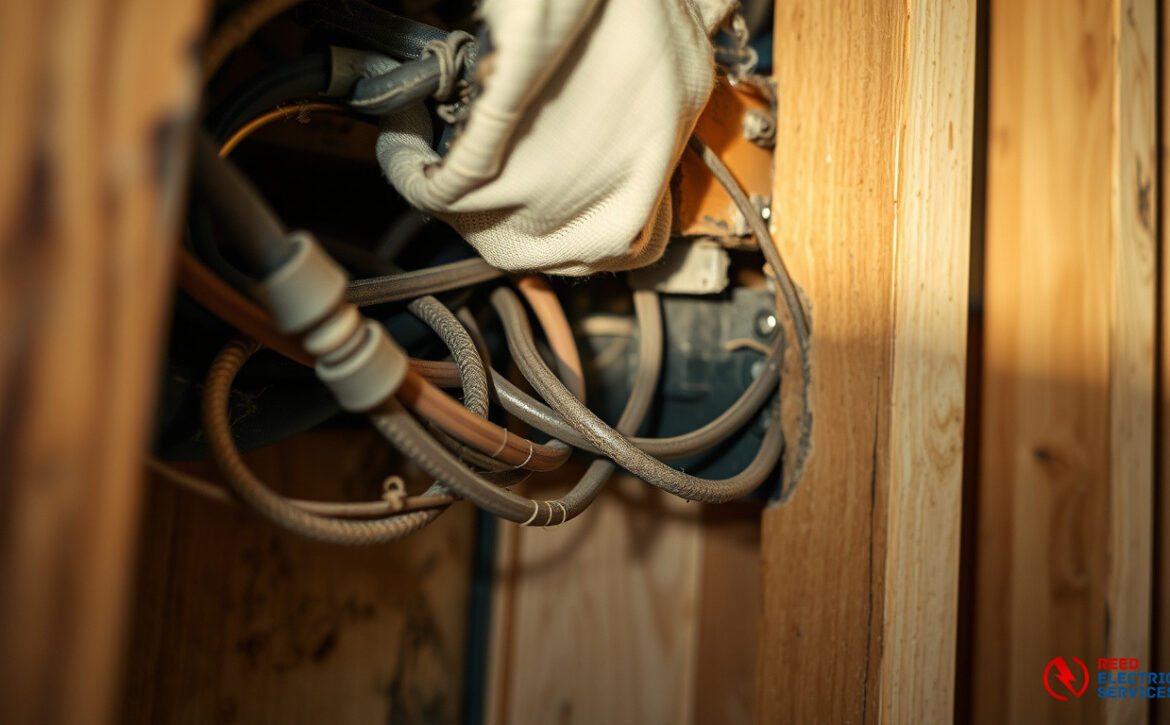
For homes in Palos Hills and the surrounding area, a lot of the housing stock dates from the 1960s through the 1980s. That means many switch boxes were wired before LED lighting was even a concept. Upgrading to modern dimmers sometimes uncovers the need for wiring upgrades — particularly when neutral wires are missing, boxes are overcrowded, or the existing wiring is older knob-and-tube or early aluminum. None of that is a reason to panic, but it is a reason to have a licensed electrician assess the situation rather than guessing at a hardware fix.

Related Questions

Can I install a dimmer on a ceiling fan?

Standard light dimmers should never be used to control a ceiling fan motor. Using one can burn out the fan’s motor over time or create a fire hazard. Fan speed controllers look similar to dimmers but use a completely different internal mechanism designed for inductive motor loads. If you want both dimmable light and fan speed control from a single location, you need a dual-function fan/light controller or a smart switch designed specifically for that purpose.

Why does my dimmer switch feel warm even when the lights are off?

A small amount of warmth is normal — dimmers dissipate some energy as heat during operation. But if the switch feels hot to the touch or warm even hours after the lights have been off, that points to either an overloaded dimmer, a wiring issue, or a failing device. Excessive heat at a switch is one of those things that shouldn’t be ignored; it’s worth having a local electrician from Reed Electrical Services take a look before it becomes a more serious problem. The National Fire Protection Association consistently lists electrical failures as one of the top causes of residential fires, and overheating switches are a known contributor.

Read More

Why Would a Newly Installed Outlet Stop Working the Same Day in Palos Hills?

Why Would a Newly Installed Outlet Stop Working the Same Day?

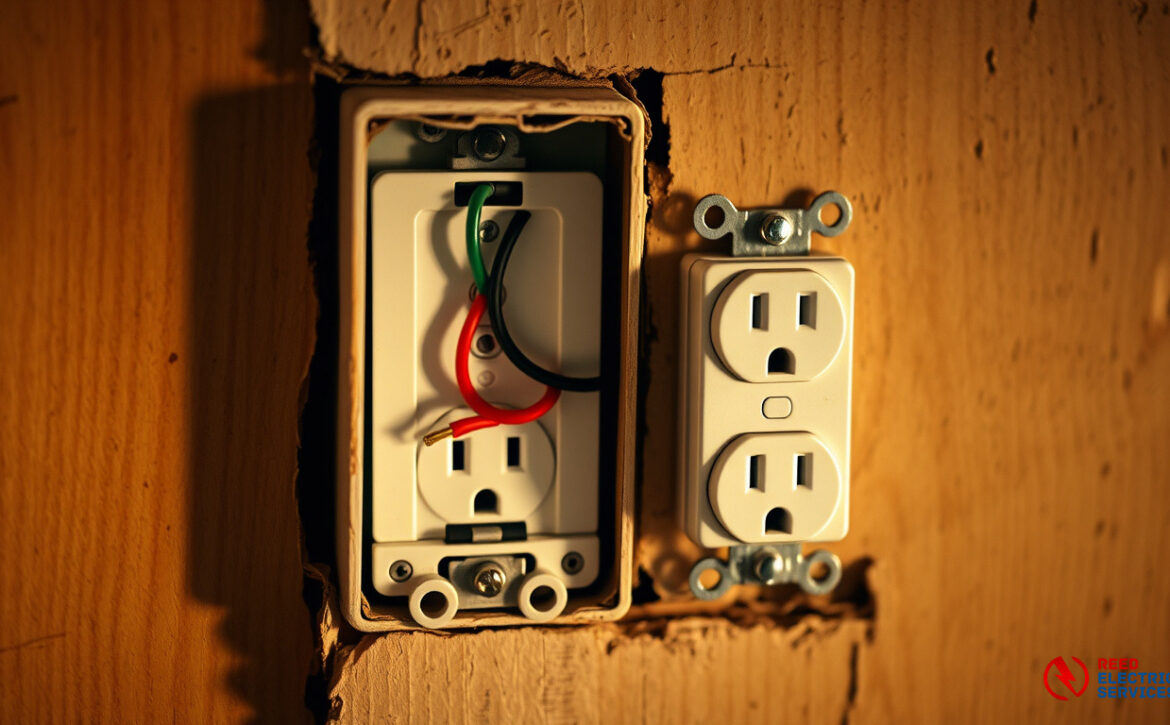
A brand-new outlet that goes dead within hours of installation usually points to one of three things: a loose wire connection at the terminal, a tripped GFCI outlet somewhere upstream on the same circuit, or a wiring error made during the install itself. It is almost never a defective outlet fresh out of the box, though that does happen on rare occasions.

The Most Common Reasons a New Outlet Fails Right Away

The Most Common Reasons a New Outlet Fails Right Away — Electrical Services, Palos Hills

Why Would a Newly Installed Outlet Stop Working the Same Day? — Electrical Services, Palos Hills

The Upstream GFCI Has Already Tripped

This one catches a lot of homeowners off guard. Many circuits in a home share protection from a single GFCI outlet that sits earlier in the wiring run. If that master outlet trips, every regular outlet “downstream” from it goes dead too. The newly installed outlet looks broken, but the real problem is a GFCI in a bathroom, garage, or kitchen that needs a simple reset. Press the TEST and then RESET buttons on that GFCI and check whether your new outlet comes back to life. If it does, the outlet itself is fine.

This is worth knowing before calling anyone. A quick walk around the home looking for tripped GFCI outlets can save time and money.

A Loose Wire at the Terminal

Even a professional installation can leave a wire that looks seated but is not making solid contact inside the terminal. Loose wire connections are actually one of the leading causes of electrical problems in residential work. When a screw terminal is not torqued properly, the wire can back out slightly the first time current runs through it, breaking the connection. This is especially common with backstab-style outlets, where the wire just pokes into a small hole rather than wrapping around a screw. Backstab connections are notorious for failing early. A quality installation uses the screw terminals and tightens them to spec.

A Wiring Error During Installation

Mixing up the hot, neutral, and ground wires is a real possibility, especially in older homes where wire insulation colors have faded or the wiring was done with aluminum. If the outlet was wired incorrectly, it may appear dead, or worse, it may create a shock hazard while still appearing to work. A non-contact voltage tester can confirm whether power is even reaching the outlet. If power is present but the outlet is still dead, the internal wiring of the device itself was likely miswired.

If you had a contractor install the outlet and it failed the same day, that is a workmanship issue the contractor should fix at no charge. For professional, properly done work on switch and outlet installation in Palos Hills, IL, getting it right the first time avoids exactly this kind of frustration.

What to Check Before Calling an Electrician

Run Through This Quick Checklist

Before picking up the phone, run through these checks. First, look at your electrical panel and confirm no breaker has tripped. A breaker that tripped mid-installation sometimes stays in a middle position that is easy to miss. Second, find every GFCI outlet in the house and press RESET on any that feel “clicked out.” Third, plug a lamp or phone charger into the new outlet to confirm it is truly dead rather than just not working with one specific device. Fourth, if you feel comfortable doing so safely, remove the outlet cover and look for any wire that has visibly pulled away from a terminal.

If none of that resolves it, the problem is inside the wiring and should be handled by a licensed electrician. The residential electrical services team at Reed Electrical Services covers exactly these kinds of diagnostic calls for homeowners in the area.

When the Problem Is Deeper in the Circuit

Sometimes a new outlet failing immediately signals a bigger issue with the circuit itself. An overloaded circuit, deteriorated wiring, or a faulty neutral connection further back in the run will cause problems no matter how well the new outlet was installed. Homes built before 1980 in the southwest Chicago suburbs are especially likely to have wiring that complicates new outlet work. If your home is in that age range, it may be worth having the full circuit inspected. The National Fire Protection Association consistently identifies loose and deteriorated connections as a leading cause of residential electrical fires, which is reason enough to take a dead outlet seriously rather than ignoring it.

Palos Hills follows the Illinois Electrical Licensing Act, meaning all electrical work requires a licensed contractor. You can verify contractor licensing through the Illinois Department of Financial and Professional Regulation before hiring anyone.

Related Questions

Can a bad outlet damage appliances plugged into it?

Yes. An outlet with a loose neutral wire can cause voltage fluctuations that send irregular current to anything plugged in. Sensitive electronics like TVs, computers, and smart devices are particularly vulnerable, and the damage can happen quickly. If an outlet feels warm, sparks, or causes devices to behave erratically, stop using it and have it inspected.

How long does it take an electrician to replace a standard outlet?

A straightforward outlet swap on an accessible, properly wired circuit typically takes 20 to 30 minutes. If the electrician needs to trace a wiring fault, inspect the circuit, or replace a damaged box in the wall, that can push the job to an hour or more. Older homes where wiring is hard to access or circuits are not labeled take longer than newer construction.

Read More

What Happens to Your Electrical Panel When You Add a Major Appliance in Palos Hills?

What Happens to Your Electrical Panel When You Add a Major Appliance?

When you add a large appliance like a dryer, electric range, or EV charger, your electrical panel has to supply a brand-new load it was never originally sized for. If the panel is already close to capacity, that added demand can cause breakers to trip repeatedly, or worse, the panel simply won’t have an open slot to support a new dedicated circuit. An electrician needs to evaluate your current panel before any major appliance goes in.

Why Panel Capacity Actually Matters

Why Panel Capacity Actually Matters — Electrical Services, Palos Hills

What Happens to Your Electrical Panel When You Add a Major Appliance? — Electrical Services, Palos Hills

A lot of homeowners assume their panel can handle whatever gets plugged in. That’s rarely how it works. Every panel has a total amperage rating, typically 100 or 200 amps for most residential homes in the southwest Chicago suburbs. Each circuit inside that panel draws from that pool.

The Load Calculation Problem

Electricians use something called a load calculation to figure out how much of your panel’s capacity is already spoken for. It accounts for lighting, outlets, HVAC, water heaters, and everything else running in the background. Adding a 240-volt appliance like an electric dryer pulls anywhere from 20 to 30 amps on its own. If your panel is already at 85% capacity, that new appliance pushes things into uncomfortable territory fast.

Older homes in Palos Hills, especially those built in the 1960s and 70s, often came with 100-amp service. That was reasonable for the time, but modern households run far more equipment. A single electric vehicle charger, a new range, and a heat pump together can completely outpace what a 100-amp panel was designed to handle.

What “Panel Is Full” Actually Means

People sometimes open their breaker box and see empty-looking slots and think they have room. But tandem breakers, which squeeze two circuits into one slot, are sometimes used to fake extra space. Not all panels accept tandems, and even when they do, there are limits on how many are allowed. A panel that looks like it has room might be at its legal and physical limit. If you’re in this situation, a panel upgrade is often the most practical path forward rather than trying to squeeze more in.

Signs Your Panel Is Struggling With Current Demand

You don’t always need to add a new appliance for the symptoms to show up. Sometimes the signs are already there, pointing to a panel that’s been running near its limit for years.

Breakers That Trip Under Normal Use

If a breaker trips when you run the microwave and the dishwasher at the same time, that’s not bad luck. That’s a circuit carrying more than it was rated for. Tripping is the breaker doing its job, but if it happens regularly, the circuit load distribution needs to be looked at. Sometimes the fix is redistributing appliances across circuits. Other times, a panel upgrade is the right call.

Dimming or Surging When Appliances Kick On

Lights that dim when the refrigerator compressor starts, or when the AC kicks on, suggest the panel is struggling to maintain stable voltage under load. This kind of behavior is common in homes where the electrical service hasn’t been updated in decades. Local residents who notice this pattern should get an inspection done sooner rather than later, because the underlying cause doesn’t fix itself.

A professional electrical inspection can identify whether the issue is isolated to one circuit or reflects a broader panel capacity problem.

No Room for New Circuits

Adding a dedicated circuit for a new appliance requires an open slot in the panel. If there isn’t one, the options are limited: remove an existing circuit (rarely practical), install tandem breakers where permitted, or upgrade the panel. For anyone adding an EV charger, a hot tub, or a whole-home generator, a panel upgrade is usually the answer. The National Electrical Code (NEC) sets clear requirements for how these circuits must be installed and sized.

Related Questions

How do I know if my home needs a 200-amp panel upgrade?

If your home still runs on 100-amp service and you’re adding modern appliances, running a home office, or planning to charge an electric vehicle, an upgrade is worth discussing with a licensed electrician. The clearest signs are frequent breaker trips, a panel with no open slots, or an inspection report flagging capacity concerns. The U.S. Department of Energy’s electrical safety guidance is a good reference for understanding what modern homes typically require.

Can adding a new appliance void my homeowner’s insurance?

It can create problems if the work wasn’t permitted or done by a licensed electrician. Many insurance companies require that major electrical work meet local code and be inspected. If a fire or damage claim is traced back to unpermitted wiring or an overloaded panel, the insurer has grounds to reduce or deny the claim. Always pull the proper permits and work with a qualified contractor when adding any significant load to your home’s electrical system in the area.

Read More

Does My Window AC Unit Need Its Own Dedicated Circuit in Palos Hills?

The Short Answer

Yes, a dedicated circuit is required for most window AC units that draw 15 amps or more, and almost always for larger 240-volt central systems. Running a window unit on a shared circuit is one of the most common reasons homeowners deal with tripping breakers every summer.

A dedicated 20-amp breaker and new circuit conductor landed in a residential electrical panel

Why Air Conditioners and Shared Circuits Don’t Get Along

Air conditioners are among the hungriest appliances in any home. When a compressor kicks on, it pulls a surge of current that can be two to three times its rated running load for a brief moment. If that same circuit is already carrying a lamp, a TV, and a phone charger, that startup surge can easily push the breaker past its limit.

What “Running Load” vs. “Startup Surge” Actually Means

The wattage printed on the side of your AC unit is its steady-state running load. The startup surge, sometimes called inrush current, is what the motor demands in the first half-second or so when it fires up. For a 10,000 BTU window unit, that surge can spike above 20 amps even though the unit is only rated for 12 running amps. A 15-amp breaker on a shared circuit stands almost no chance.

Central air systems and mini-splits are even more demanding. Most pull 240 volts and anywhere from 15 to 50 amps depending on the system size. Those absolutely need their own dedicated 240-volt circuit with the correct wire gauge, usually 10 or 8 AWG copper.

The Code Side of Things

The National Electrical Code (NEC) requires that any appliance with a motor, including air conditioners, be sized so that its circuit isn’t loaded past 80% of the breaker’s rating during continuous operation. A window unit running at 12 amps on a 15-amp circuit already sits at 80%, leaving zero room for anything else. That 80% rule is exactly why electricians almost always recommend a dedicated circuit rather than sharing.

In Palos Hills and the surrounding southwest suburbs, most homes built before the 1980s have older panel configurations that weren’t designed with today’s appliance loads in mind. Bedrooms often have a single 15-amp circuit covering lights, outlets, and whatever else gets plugged in. Adding a window unit to that mix is asking for trouble every time the compressor cycles.

How to Know If Your Setup Is Actually Safe

There’s a quick way to get a rough read on your situation before calling anyone. Find the breaker that controls the room where the AC runs. Check its amperage rating, printed right on the handle. Then add up the wattage of everything else on that circuit and divide by 120 to get approximate amps. If the AC’s running amps push that total above 80% of the breaker rating, the circuit is already borderline.

Signs the Circuit Is Being Pushed Too Hard

Watch for these red flags once the AC starts running regularly:

  • The breaker trips shortly after the compressor kicks on, especially on hot days when the unit works harder
  • Lights in the same room dim noticeably every time the AC cycles
  • Warm or discolored outlet covers near the AC plug
  • A burning smell near the outlet or the unit itself
Wall outlet discoloured by heat, a warning sign of an overloaded circuit

Any of those signs means the circuit is under real stress. It’s not just an inconvenience; it’s a fire risk. Overloaded wiring inside walls can heat up well past safe temperatures long before a breaker trips.

What a Proper Fix Looks Like

Adding a dedicated circuit for a window unit typically means running a new 12 AWG wire from the panel to a single outlet in the room, protected by its own 20-amp breaker. For a central system, the electrician sizes the circuit based on the unit’s nameplate data. It’s not a massive job in most cases, but it does require opening the panel and pulling wire, which is work that needs a licensed electrician. If you’re also thinking about wiring upgrades elsewhere in the house, it often makes sense to tackle both at once.

Homes in the area with older 100-amp panels sometimes find they don’t have enough open slots for a new dedicated circuit. In that case, a panel evaluation comes first. Reed Electrical Services handles both the assessment and the installation for local residents so nothing gets guessed at.

Related Questions

Can I just use a heavy-duty extension cord to handle the load better?

No. Extension cords, even heavy-duty ones, are not rated for continuous high-amperage loads like an AC compressor. They’re also a code violation for permanent appliance connections. The only real fix is a properly wired outlet on its own circuit. If you need outlet installation done correctly, that’s the right path forward.

Does an older home need a panel upgrade before adding an AC circuit?

Not always, but it depends on how much capacity is left in the existing panel. A 100-amp service with most slots already used may not have room, and some older panels use fuses or outdated breaker brands that are no longer considered safe. An electrician can check your home’s cooling load and panel capacity together before any work starts, so you’re not spending money in the wrong order.

Read More

Why Does My Smoke Detector Keep Chirping Even After I Put In New Batteries in Palos Hills?

Why Would a Smoke Detector Keep Chirping Even With New Batteries?

A smoke detector that keeps chirping after a fresh battery swap is usually reacting to one of a few issues: residual charge in the old battery, dust buildup on the sensor, or the detector itself reaching the end of its service life. Most units are rated for 10 years, and after that point, the internal sensor degrades regardless of how many new batteries you put in.

Resetting the unit by holding the test button for 15-20 seconds after swapping batteries clears the low-battery signal in most models. If chirping continues, the detector likely needs replacing entirely.

What’s Actually Going On Inside the Detector

What's Actually Going On Inside the Detector — Electrical Services, Palos Hills

Why Would a Smoke Detector Keep Chirping Even With New Batteries? — Electrical Services, Palos Hills

The Battery Isn’t Always the Real Problem

Smoke detectors store a small charge even after you pull the old battery. When you slot in a fresh one without clearing that residual charge first, the unit can still interpret its own memory as a low-power warning. The fix is simple: remove the battery, press and hold the test button for about 15 seconds to drain any stored charge, then install the new battery. That sequence clears the fault in most standard detectors.

Dust and debris are a less obvious culprit. Smoke detectors work by monitoring a sensing chamber for particles. When dust settles inside that chamber over months and years, the unit can misread it as smoke or as a sensor error, triggering the chirp. A quick blast of compressed air into the vents often fixes this, though it’s a short-term patch if the unit is aging.

When the Detector Itself Has Expired

This is the part most homeowners miss. The National Fire Protection Association recommends replacing smoke detectors every 10 years, and for good reason. The photoelectric or ionization sensors inside degrade over time. A 12-year-old detector that chirps through three new batteries isn’t malfunctioning — it’s done. Check the manufacture date printed on the back of the unit. If you can’t find one, that’s a sign it’s overdue for replacement anyway.

In Palos Hills and surrounding communities, older homes often have hardwired smoke detectors that tie into the home’s electrical system with a battery backup. These chirp for the same reasons, but replacement involves working with the wiring. That’s where calling a licensed electrician makes sense rather than guessing.

Hardwired Detectors Add Another Layer

AC Power vs. Battery Backup Faults

Hardwired detectors pull power from your home’s circuits and use a battery only as a backup during outages. If the chirping is coming from a hardwired unit, the issue might not be the battery at all. A loose wire connection at the detector, a tripped breaker feeding that circuit, or a failing power module inside the unit can all trigger the fault chirp.

Swapping the backup battery is still the right first step. But if the detector continues chirping and you’ve confirmed the battery is good, the problem is likely on the power supply side. An electrician can check the wiring connection at the mounting bracket and confirm whether the circuit is delivering consistent voltage. This kind of check is quick and pairs naturally with a broader electrical inspection if you’re already concerned about other systems in the house.

Interconnected Systems and False Triggers

Many homes have interconnected detector networks, meaning when one chirps, it can trigger others on the same circuit. This makes it tricky to track down which unit is actually the source of the problem. The fastest approach is to pull each detector off its mounting base one at a time while listening for the chirp to stop. Once the sound disappears, you’ve found the faulty unit.

If your home is running older wiring and you’re finding multiple detectors acting up at once, that’s worth investigating beyond just the detectors themselves. Issues with aging electrical wiring can cause voltage fluctuations that stress hardwired safety devices over time. Our wiring upgrade services cover situations exactly like this for homeowners in the southwest suburbs.

The City of Palos Hills follows Illinois residential building codes that require working smoke detectors in specific locations throughout the home. If you’re replacing units and unsure whether your placement meets current code, a licensed electrician can confirm placement and handle hardwired installs correctly.

Related Questions

How many smoke detectors does a house actually need?

Current Illinois code and NFPA guidelines call for at least one detector on every level of the home, including the basement, one inside each bedroom, and one outside each sleeping area. A two-story home with three bedrooms typically needs a minimum of six detectors placed correctly to meet those requirements.

Can a smoke detector go off because of high humidity or steam?

Yes. Ionization-type detectors are especially sensitive to steam from showers or cooking. Humidity causes water vapor particles to enter the sensing chamber and mimic the behavior of smoke particles. Relocating the detector further from the bathroom or kitchen, or switching to a photoelectric model in those areas, usually resolves the false alarms without sacrificing protection.

Read More

How Do You Know If Your Home’s Wiring Is Too Old to Be Safe in Palos Hills?

How Do You Know If Your Home’s Wiring Is Too Old to Be Safe?

Most homes built before 1980 used wiring methods and materials that weren’t designed to handle today’s electrical loads. If your house still has knob-and-tube or aluminum branch circuit wiring, cloth-wrapped cables, or a panel full of fuses instead of breakers, those are clear signs the system needs a professional look before you add anything new to it.

Age alone doesn’t condemn a system, but age combined with high demand, previous DIY work, or zero inspection history is a real problem worth addressing sooner rather than later.

Warning Signs That Show Up Inside the House
Warning Signs That Show Up Inside the House — Electrical Services, Palos Hills

How Do You Know If Your Home's Wiring Is Too Old to Be Safe? — Electrical Services, Palos Hills

Some indicators are obvious. Others are easy to dismiss as minor annoyances until something goes wrong.

Outlets and Switches That Behave Oddly

An outlet that sparks when you plug something in, a switch that crackles or buzzes, or a two-prong ungrounded outlet throughout most of the house — these aren’t quirks, they’re symptoms. Older receptacles also tend to lose their grip on plugs over time, which creates a loose connection that generates heat. Heat inside a wall cavity is one of the leading causes of residential electrical fires.

If you’re in the southwest suburbs and find your outlets need replacing, a switch and outlet installation in nearby Oak Lawn or similar service from Reed Electrical gives you a clean, code-compliant upgrade without tearing up walls unnecessarily.

Panel and Breaker Red Flags

A Federal Pacific Stab-Lok panel or a Zinsco panel are two names every homeowner should know. Both have well-documented failure rates — breakers that don’t trip when they should, which means a fault can run unchecked. If your home still has one of these, that’s not a “someday” problem. Beyond brand, look for breakers that feel loose, a panel that’s warm to the touch, or breakers that trip repeatedly on normal loads.

A thorough electrical inspection by a licensed electrician will flag these issues with specifics, not just vague concerns. Reed Electrical serves Palos Hills and the surrounding area and can walk you through exactly what needs attention and what can wait.

Visible Wiring Problems

Head to the basement or attic. If you see cloth-wrapped wires, wiring that runs without conduit through open framing, or spliced connections just hanging loose rather than capped inside a junction box, those are signs of an older system that may not meet current safety standards. Rodent damage is also common in older homes — chewed insulation on a wire inside a wall is invisible until it causes a fire.

For context on just how many homes in the area fall into this category, the Village of Palos Hills was largely developed during the 1960s and 1970s, meaning a significant share of local housing stock is now 50 or more years old.

What a Professional Inspection Actually Covers

More Than Just a Visual Check

A licensed electrician doing a proper inspection will pull the panel cover, check wire gauges against breaker sizes, test outlets for ground and polarity, look at service entrance cables, and evaluate whether the overall load capacity still fits how the home is actually being used. Modern households run EV chargers, home offices, and large HVAC systems off panels that were sized for a 1965 lifestyle. That mismatch matters.

The National Fire Protection Association recommends having a home’s wiring inspected every ten years, or any time you’re buying a home, completing a renovation, or adding significant new loads.

When Repairs Turn Into a Full Upgrade

Sometimes a targeted fix is all you need. A bad breaker, a handful of outlets, a new panel — these are contained jobs. But if an inspection reveals outdated wiring throughout the home, the conversation shifts toward a wiring upgrade. That’s not meant to scare anyone; it just means the scope is bigger. Companies like Reed Electrical work with homeowners to phase these projects when a full replacement isn’t in the immediate budget.

Related Questions

How long does a home electrical inspection take?

For an average single-family home, a thorough electrical inspection typically takes two to four hours. Larger homes, older systems, or properties with detached garages and outbuildings will run longer. You’ll get a written report detailing any code violations, safety concerns, and recommended repairs ranked by urgency.

Does old wiring affect my homeowner’s insurance?

Yes, in many cases it does. Insurance companies increasingly ask about panel brands and wiring types during underwriting. Homes with knob-and-tube wiring or known problem panels like Stab-Lok may face higher premiums, policy exclusions, or outright denial of coverage until the issues are corrected. Getting an inspection and making documented repairs can directly affect what you pay and what your policy actually covers.

Read More

Do I Need a Subpanel If My Electrical Panel Is Full in Palos Hills?

The Short Answer

Yes, a single electrical panel can absolutely run out of space, and when it does, adding a subpanel is one of the most practical ways to expand capacity without replacing the entire main panel. A subpanel draws power from the main panel through a dedicated breaker and distributes it to a separate set of circuits, usually in a garage, workshop, or home addition.

A residential electrical panel with every breaker slot occupied

Why Homeowners End Up Needing a Subpanel

Most homes built in the mid-20th century came with 100-amp or 150-amp panels that had enough breaker slots for the electrical loads of that era. Nobody was running EV chargers, whole-home air conditioning systems, and home offices with multiple workstations back then.

Fast-forward to today, and those older panels are frequently maxed out. Every slot is filled, yet the demand for new circuits keeps growing. Palos Hills has a large stock of homes from the 1960s and 1970s, and this is one of the most common issues electricians see in the area.

When a Subpanel Makes Sense

A subpanel installation is often the right call in a few specific situations. If you are finishing a basement or adding a garage, running individual circuits all the way back to the main panel can be expensive and messy. A subpanel placed close to the new space cuts down on wire runs significantly. It also makes future work easier since any new circuits start at the subpanel rather than requiring a trip back to the main panel.

Detached structures are another strong candidate. A detached garage or a backyard workshop needs its own grounding system and typically benefits from a subpanel rather than a long individual circuit. The same applies to anyone installing a Level 2 EV charger, which usually requires a dedicated 50-amp or 60-amp circuit that may not fit in a crowded main panel.

A subpanel fed by conduit on the exterior wall of a detached garage

What a Subpanel Cannot Fix

A subpanel does not increase the total amperage coming into your home. If your main service is 100 amps and your household demand is already pushing close to that limit, adding a subpanel will not solve the underlying capacity problem. In that case, a full panel upgrade to 200 amps is usually the right move first. An electrician can run a load calculation to tell you which situation you are actually in before any work begins.

What Goes Into the Installation

The process is more involved than it might look from the outside. A licensed electrician will size the feeder wire correctly based on the amperage of the subpanel, which typically runs between 60 and 100 amps for residential use. Undersized wire is a fire risk and will fail an inspection.

Permits and Code Requirements

In Illinois, subpanel work requires a permit and inspection. This is not optional paperwork. The inspection confirms that the feeder breaker in the main panel is sized correctly, that the subpanel has a proper neutral-ground separation (subpanels require a separate ground bar, unlike main panels), and that all connections are tight and correctly rated. Skipping the permit might save a few dollars upfront but creates real problems when you go to sell the home or file an insurance claim.

Local residents who have already upgraded to a 200-amp service are well-positioned for a subpanel addition since there is usually headroom in the main panel to accommodate a properly sized feeder breaker. If you are not sure what your current service looks like, an electrical inspection can give you a clear picture before committing to any work.

For homeowners in the southwest suburbs who are also thinking about adding an EV charger alongside a subpanel, the two projects pair well together. Check out the options for EV charger installation in Orland Park to see what that kind of work typically involves nearby.

Related Questions

How many circuits can a subpanel handle?

That depends on the size of the subpanel you install. A common residential subpanel has between 6 and 24 slots, with 12-slot and 24-slot panels being the most popular choices. Each slot holds one single-pole breaker (120V) or one double-pole breaker (240V), so a 24-slot panel can theoretically support 24 circuits, though real-world installations rarely fill every slot right away.

Is it safe to have a subpanel right next to the main panel?

Yes, physically placing a subpanel next to the main panel is perfectly acceptable and actually pretty common in basements where space allows. The key requirement is that the neutral and ground buses must remain separate in the subpanel, even though they are bonded together at the main panel. This is a code requirement under the National Electrical Code (NFPA 70) and exists to prevent stray current from traveling on ground wires. A licensed electrician familiar with Illinois permit requirements will handle this correctly from the start.

Read More

Can I Do My Own Electrical Work at Home, or Do I Need to Hire Someone in Palos Hills?

The Short Answer

Yes, but only for certain types of wiring problems. Low-voltage wiring like doorbell or thermostat wire is generally legal to DIY, but anything connected to your home’s 120V or 240V electrical system typically requires a licensed electrician and a permit. In Illinois, unpermitted electrical work can create serious liability issues if something goes wrong or when you sell your home.

Low-voltage thermostat wiring, the kind of work Illinois homeowners may legally do themselves

What the Law Actually Says About DIY Electrical Work

Illinois Homeowner Exemptions Are Narrow

Illinois does allow homeowners to do some of their own electrical work on a single-family home they occupy. The catch? You almost always still need a permit, and the work still gets inspected. This means pulling a permit, scheduling an inspection, and having a licensed inspector sign off before you close up the walls. Many people skip that step, which is where the trouble starts.

It’s also worth knowing that Palos Hills, like most Cook County municipalities, follows the City of Palos Hills local codes, which can be stricter than the state baseline. What’s allowed in one suburb may be flagged in another.

Work That’s Almost Always Off-Limits for DIYers

A few categories of work should go straight to a licensed electrician, no exceptions:

  • Panel work — touching your main breaker box or subpanel involves lethal voltage and requires permits in virtually every jurisdiction
  • Adding new circuits to existing wiring
  • Installing or moving outlets, switches, or fixtures in finished walls
  • Any work near a kitchen, bathroom, or outdoor circuit where GFCI requirements apply
Exterior electrical service entrance and meter, work that requires a licensed electrician and a permit

The National Electrical Code (NEC) sets the safety baseline for all of this, and local inspectors use it as their measuring stick. If your work doesn’t match current NEC standards, it fails inspection — and you’re still on the hook to fix it.

The Real Risk Isn’t a Fine — It’s a Fire

Most people worry about getting caught doing unpermitted work. The bigger concern is what happens when the work is done wrong. Faulty DIY wiring is a leading cause of house fires, and it’s not always obvious immediately. A loose connection in a junction box can arc quietly inside your wall for months before igniting insulation. Insurance companies are also increasingly checking whether electrical work was permitted when processing fire claims.

For straightforward jobs like swapping out a light fixture for a like-for-like replacement, the risk profile is lower. But once you’re running new wire, relocating outlets, or dealing with anything that touches your electrical panel, the smart move is calling a professional. Local homeowners in the southwest suburbs have found that having a licensed electrician do the job correctly the first time costs far less than fixing a DIY mistake that failed inspection or, worse, caused damage.

If you’re already thinking about outlet or switch work nearby in Oak Lawn or need a full panel upgrade in Orland Park, those are exactly the kinds of jobs where licensed work pays for itself.

Related Questions

Do I need a permit to replace an outlet or light switch myself?

In most Illinois municipalities, yes — even a simple outlet swap technically requires a permit if you’re doing the work yourself as a homeowner. In practice, many homeowners skip it for minor like-for-like replacements, but if the work is ever inspected (during a home sale, for example), unpermitted changes can require rework. When in doubt, a quick call to your local building department takes about two minutes and saves a lot of headaches later.

How do I know if previous electrical work in my home was done to code?

The fastest way is to schedule an electrical inspection with a licensed electrician. They’ll look at your panel, visible wiring, outlets, and grounding to flag anything that’s out of date or unsafe. Homes built before 1980 in the area frequently have issues like ungrounded outlets, older wiring types, or panels that don’t meet current load demands. An inspection gives you a clear picture of where things stand without guessing.

Read More

Why Does My GFCI Outlet Keep Tripping Even When Nothing Is Plugged In in Palos Hills?

The Short Answer

Yes, but only up to a point. A GFCI outlet trips when it detects a ground fault, but it cannot protect against overloads or short circuits the way a breaker does. If a GFCI trips repeatedly for no obvious reason, the outlet itself may be failing, or something on the circuit is drawing too much current.

What a GFCI Outlet Actually Does (and Doesn’t Do)

The Short Answer — Electrical Services, Palos Hills

A lot of homeowners treat a tripping GFCI outlet like a nuisance to reset rather than a signal worth investigating. That instinct can get expensive.

The job of a GFCI is narrow but critical

A ground fault circuit interrupter monitors the difference in current flowing out through the hot wire versus returning through the neutral. If that difference hits about 5 milliamps, the outlet shuts off in roughly 1/40th of a second. That speed is what prevents electrocution near water. What it does not do is measure total load. Plugging a 15-amp shop vac into a 15-amp circuit won’t cause the GFCI to trip on its own — that’s the breaker’s job.

Common reasons a GFCI keeps tripping

There are four situations that come up regularly in older homes around Palos Hills:

  • Moisture inside the outlet box — especially common in bathrooms, garages, and unfinished basements where humidity creeps into wall cavities.
  • A worn-out GFCI device — they have a lifespan of roughly 10 years. After that, the internal test mechanism can become hypersensitive or fail entirely.
  • Appliances with leakage current — older refrigerators, some power tools, and certain hair dryers bleed a small amount of current to ground by design. That trickle can be enough to trip a sensitive GFCI.
  • Wiring issues upstream — a loose neutral connection anywhere on the circuit can create a phantom ground fault that trips the outlet intermittently.

When resetting it just doesn’t work

If you press the reset button and it immediately pops back out, or if the outlet shows power on a voltage tester even after tripping, the device has almost certainly failed internally. That’s a replacement job. A licensed electrician can swap the outlet, confirm the downstream wiring is intact, and test the circuit properly. Residents in the area shouldn’t keep resetting a GFCI that won’t hold — an outlet that won’t latch after reset may not be protecting anything at all, which defeats the entire purpose.

Knowing When to Call a Pro vs. Handle It Yourself

Replacing a GFCI outlet is one of the more approachable DIY electrical tasks for someone comfortable working with wiring. But there’s a difference between swapping out a bad device and diagnosing why one keeps tripping in the first place.

DIY is reasonable when…

The outlet is more than 10 years old, it trips randomly with nothing plugged in, and there’s no visible moisture or damage. In that case, buying a new GFCI outlet at a hardware store and swapping it out is a straightforward fix. Just make sure to turn off the breaker first and match the amperage rating exactly.

Call an electrician when…

The new outlet still trips after replacement. That tells you the problem isn’t the device — it’s something on the circuit. Intermittent trips tied to a specific appliance might mean that appliance needs service, but recurring trips with nothing plugged in often point to wiring faults, moisture intrusion in conduit, or a failing breaker feeding the circuit. These aren’t DIY fixes. If you’re also seeing issues with outlets elsewhere in the home, it may be time for a broader look — an electrical inspection can catch problems that individual outlet swaps won’t surface.

For homes with older wiring, a wiring upgrade is sometimes the right long-term answer, especially if multiple outlets are showing problems across the house.

The U.S. Consumer Product Safety Commission’s electrical safety resources are worth reviewing if you want a deeper look at what GFCI protection requirements apply to different areas of the home. And if you’re curious about the specific electrical codes that govern outlet placement and protection requirements in Illinois, the City of Palos Hills can point you toward local permit and inspection contacts.

Related Questions

What a GFCI Outlet Actually Does (and Doesn't Do) — Electrical Services, Palos Hills

How do I know if a GFCI outlet is actually working or just looks like it is?

Press the “Test” button — the outlet should lose power immediately. Then press “Reset” and power should return. If pressing Test does nothing, or if the outlet never had power to begin with even though the breaker is on, the device has failed and needs to be replaced. A simple outlet tester (available at any hardware store for a few dollars) will confirm live power and tell you if the wiring connections are correct.

Can a GFCI outlet go bad without tripping at all?

Yes, and this is actually the more dangerous failure mode. A GFCI can reach a state where it no longer monitors current but still passes power through normally. The outlet appears to work fine, but it offers zero protection. This is why the National Electrical Code and most electricians recommend testing GFCI outlets monthly and replacing them after about a decade of use, regardless of whether they’ve caused any trouble.

Read More

Is Aluminum Wiring in My House Actually Dangerous in Palos Hills?

Why Aluminum Wiring in Older Homes Is Still a Safety Concern

Homes built between the mid-1960s and mid-1970s were commonly wired with aluminum branch-circuit wiring instead of copper. The problem is that aluminum expands and contracts more than copper with heat cycles, which causes connections to loosen over time and creates a real fire risk at outlets, switches, and fixtures.

If your home was built during that era and hasn’t had a licensed electrician assess it, it’s worth taking seriously. The U.S. Consumer Product Safety Commission has documented that homes with aluminum wiring are significantly more likely to experience fire hazard conditions than those with copper.

What Actually Happens Inside the Walls

Why Aluminum Wiring in Older Homes Is Still a Safety Concern — Electrical Services, Palos Hills

The Expansion Problem

Every time a circuit carries a load, the wiring heats up slightly. Aluminum expands at a higher rate than copper when heated, then contracts as it cools. Do that thousands of times over 40 or 50 years and the wire starts to pull away from the terminal screw it’s clamped to. That gap is where arcing and heat buildup happen.

Oxidation makes it worse. Aluminum forms an oxide layer on its surface naturally when exposed to air. That oxide layer is actually a poor conductor, which increases electrical resistance right at the connection point. More resistance means more heat.

What Warning Signs Look Like

You might notice outlets that feel warm even when nothing is plugged in. Lights that dim briefly when an appliance kicks on. A faint burning smell near a wall plate that doesn’t go away. These are not minor annoyances. They’re signals that a connection somewhere in the circuit is failing.

Sometimes there are no visible signs at all, which is exactly why aluminum wiring inspections require opening devices and checking connections directly. A visual scan from the panel doesn’t tell the full story.

What the Fix Options Actually Are

Pig-Tailing with CO/ALR Devices

The most common repair approach is called pig-tailing: a short copper wire is spliced to the end of each aluminum wire using a connector listed specifically for aluminum-to-copper connections (look for the “AlumiConn” or “COPALUM” labels). The device side of the connection then terminates on copper only.

This method is accepted by most local authorities and is less disruptive than full rewiring. In the southwest suburbs, a lot of the older ranch-style homes in the area were built right in that aluminum-wiring window, so this type of repair comes up fairly regularly.

Full Rewiring

Pig-tailing solves the connection problem but doesn’t change the fact that aluminum conductors are still running through the walls. For homeowners who are doing a major renovation anyway, or who want the issue fully resolved rather than managed, whole-home rewiring with copper is the cleaner long-term answer. It’s a bigger project, but it also brings older homes up to current wiring standards in one shot. You can learn more about what that process involves on our wiring upgrades page for the Orland Park area.

If you’re in the early stages of figuring out what your home actually has, starting with an electrical inspection is the practical first step. An inspector can document exactly which circuits are aluminum, what condition the connections are in, and which approach makes the most sense for your specific house.

The Village of Palos Hills requires permits for electrical work, so any repair method you choose should be done by a licensed electrician who will pull the right permits and have the work inspected. That’s not just a formality. It protects you when it comes time to sell and keeps your homeowner’s insurance coverage intact.

For background on the research behind aluminum wiring risks, the CPSC’s aluminum wiring study is worth reading.

Related Questions

What Actually Happens Inside the Walls — Electrical Services, Palos Hills

Can I tell if my home has aluminum wiring without calling an electrician?

Sometimes. Check the outer jacket of wiring visible in your attic, basement, or electrical panel. If it’s stamped with “AL” or “ALUM,” that’s aluminum. However, some homes have a mix of copper and aluminum on different circuits, and the only way to know the full picture is to have someone open the devices and examine the actual terminations.

Does aluminum wiring affect my homeowner’s insurance?

It can. Some insurers charge higher premiums for homes with aluminum branch-circuit wiring, and a few will decline coverage or require repairs before issuing a policy. Disclosing it accurately matters, and documenting any repairs you’ve made with permitted work orders gives you solid footing with your carrier.

Read More